Samsung Galaxy A56 Camera Settings: 20 Tips for Better Photos (2026)
My cousin’s wedding was the worst possible time to realize I didn’t know how to use my own phone’s camera properly.
I’d just switched from an iPhone to the Galaxy A56 two weeks before the event, still riding that “ooh shiny new phone” high. I figured the camera app would just work the way every camera app works. Point, shoot, done. Wrong assumption number one of many that day.
Read More: Samsung Galaxy A56 Hidden Features
Half my reception photos came out with weird orange skin tones under the string lights. The dance floor shots were blurry messes. And don’t even get me started on the food photography — everything looked flat and lifeless, like it was lit by a fluorescent tube in a hospital hallway.
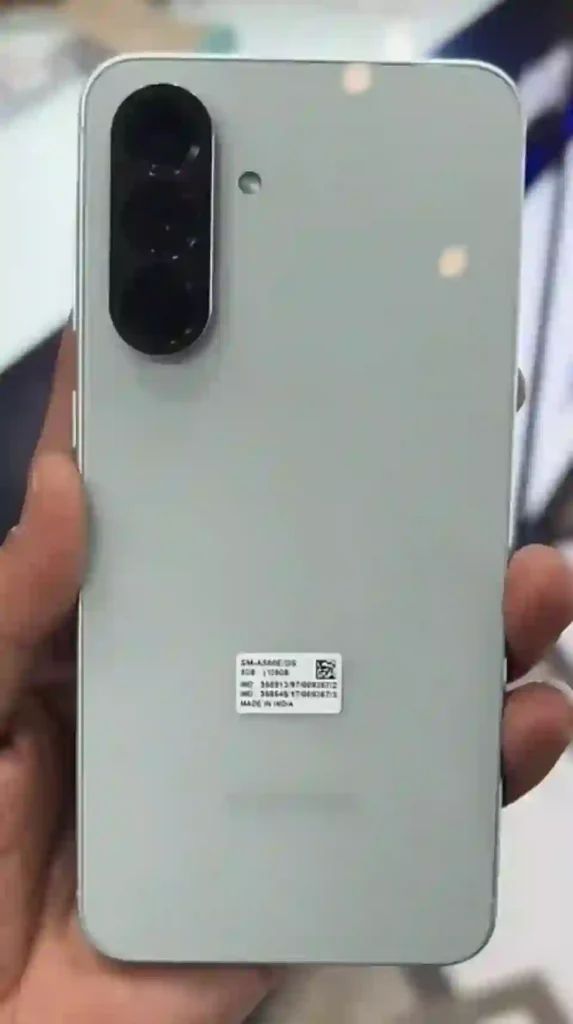
That night I went home, annoyed, and spent way too many hours actually digging into every setting this camera has. Turns out the A56 has a genuinely solid camera — you just have to stop treating it like a point-and-shoot and actually configure it.
This is everything I figured out, including the dumb mistakes along the way.
Quick Specs Table
| Feature | Details |
|---|---|
| Main Camera | 50MP, f/1.8 |
| Ultra-Wide | 12MP, f/2.2 |
| Macro/Telephoto | 5MP (varies by region/configuration) |
| Front Camera | 12MP |
| Video Recording | Up to 4K at 30fps |
| OIS (Optical Image Stabilization) | Yes, on main sensor |
| Night Mode | Yes |
| Pro Mode | Yes, with manual ISO/shutter/WB control |
| RAW Capture | Available in Pro mode |
Why the Default Settings Aren’t Enough
Here’s the thing nobody tells you when you buy this phone: Samsung ships it with settings tuned for “safe” average shots in average lighting. That’s fine if you’re just snapping random stuff for yourself. But the moment you’re in tricky lighting — a dim restaurant, a sunset, a gym with weird overhead lights — the auto mode starts guessing wrong.
The A56 camera hardware is honestly better than people give it credit for. The 50MP main sensor pulls in a lot of detail, and the OIS actually helps in low light. But software defaults play it safe, which means muted colors, occasional grain, and sometimes blown-out skies.
Once I started tweaking things manually, the difference was night and day. Not exaggerating.
Setting Up the Camera Properly (Step by Step)
Step 1: Turn on Scene Optimizer (but understand what it does)
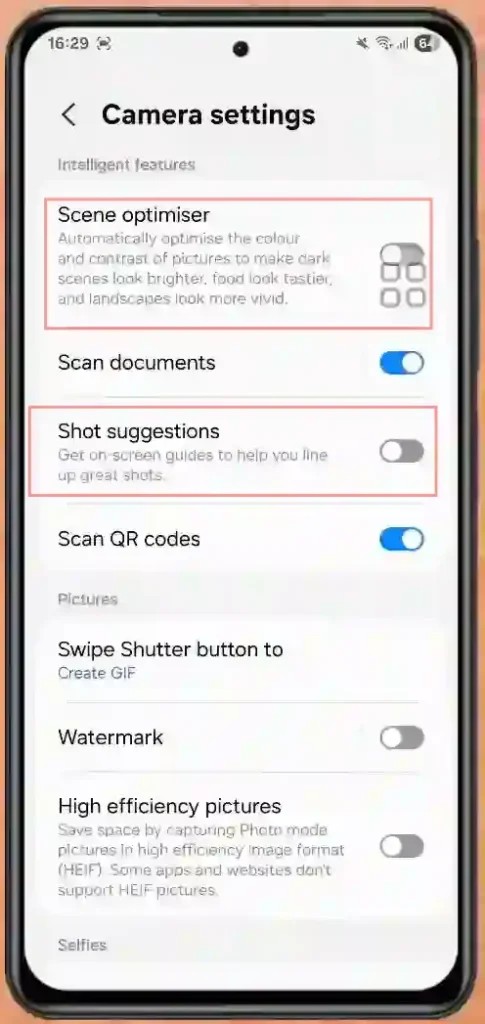
Go to Camera app → Settings (gear icon) → Scene Optimizer. Keep this on, but don’t expect magic. It just helps the camera recognize food, sky, faces, etc. and nudge colors slightly. It’s not the main fix — think of it as a small assist, not a solution.
Step 2: Switch on RAW capture for important shots
In Pro mode, there’s an option to save RAW + JPEG. I only use this for photos I plan to edit later (like sunset shots or anything I’ll post on Instagram). RAW files hold way more detail for editing in apps like Snapseed or Lightroom Mobile.
Step 3: Adjust the resolution settings
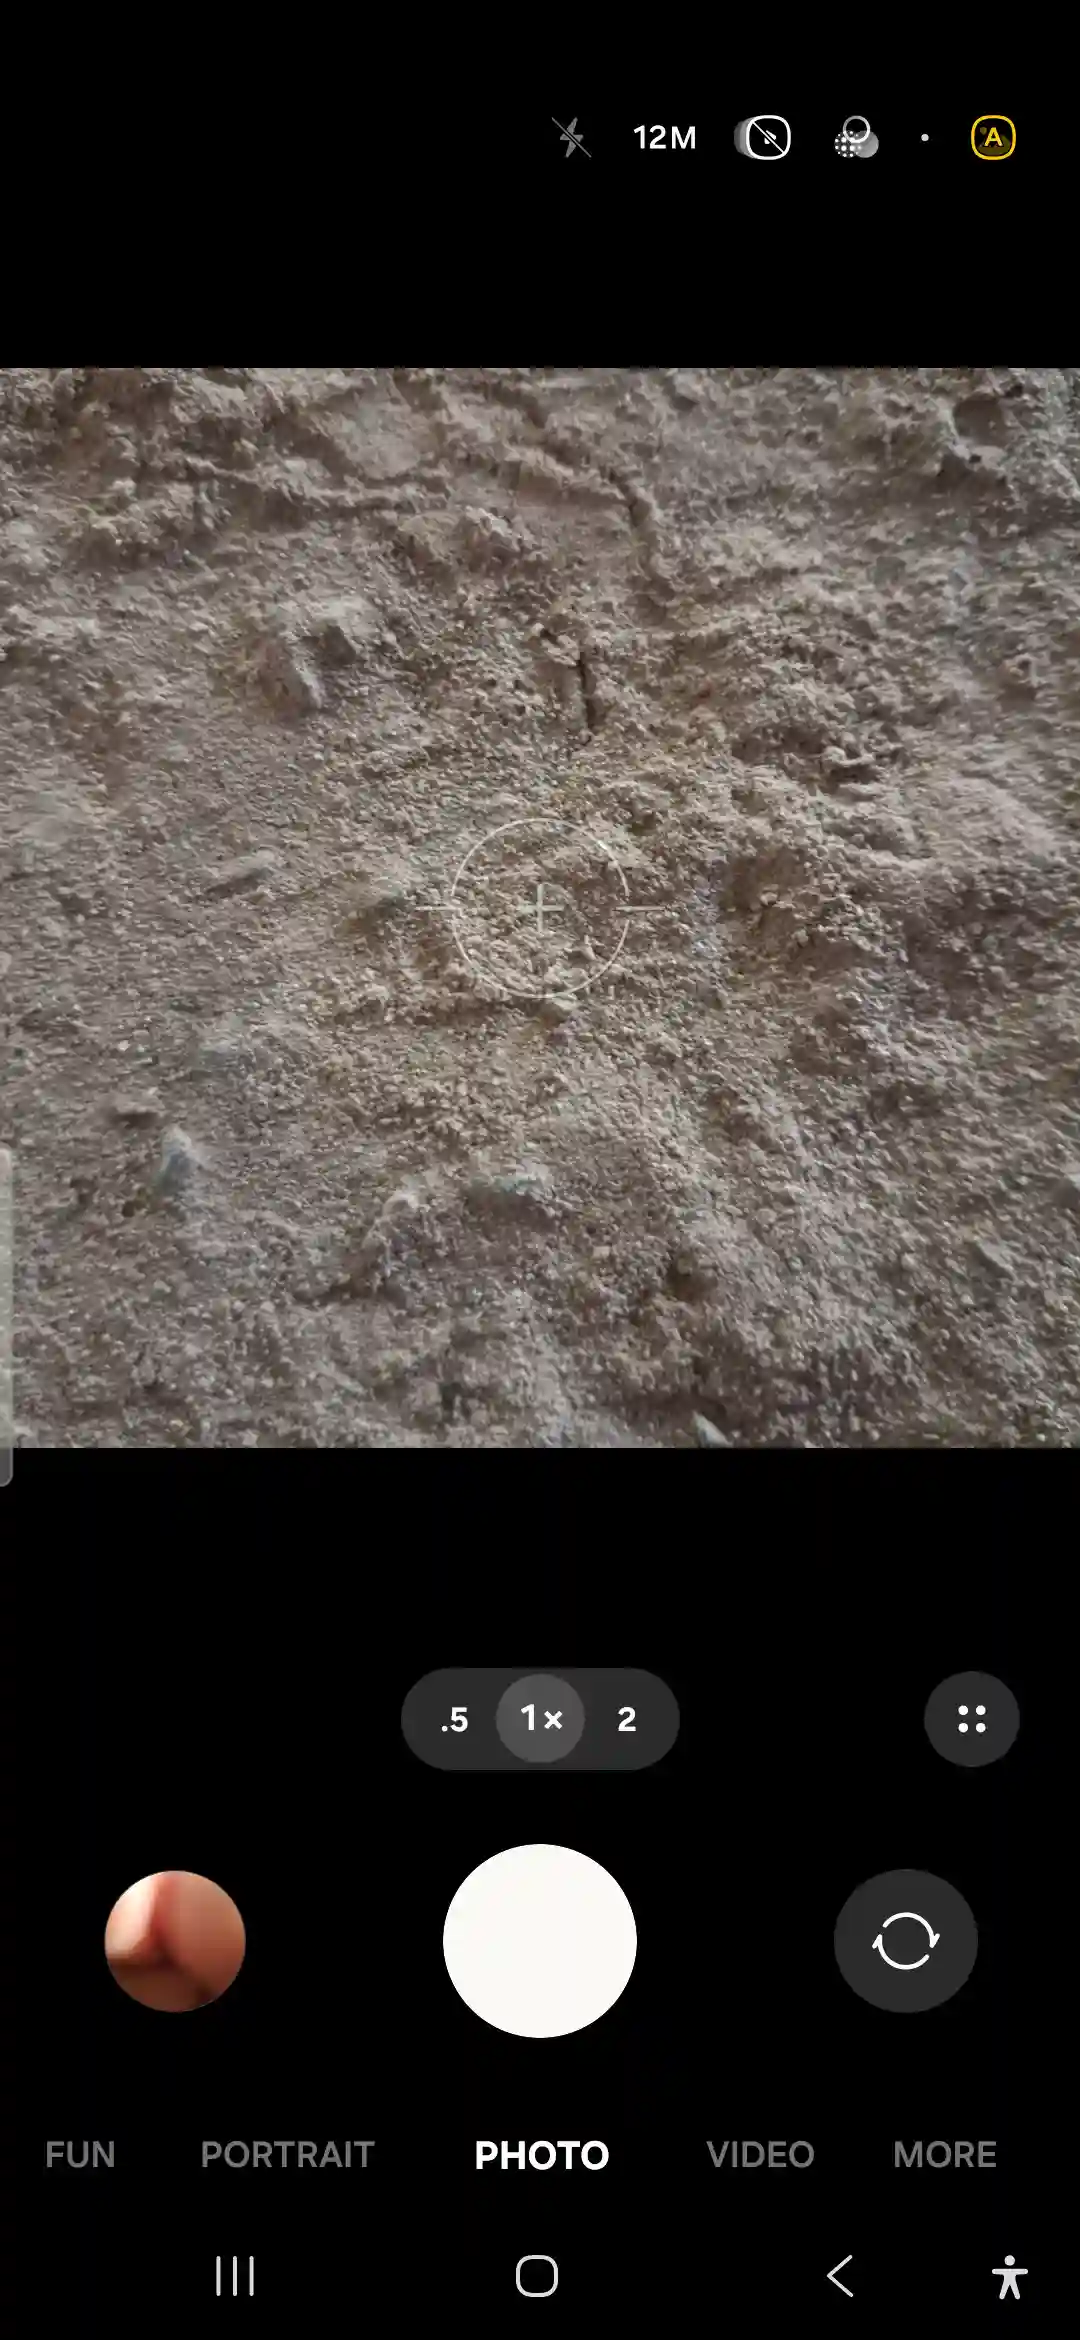
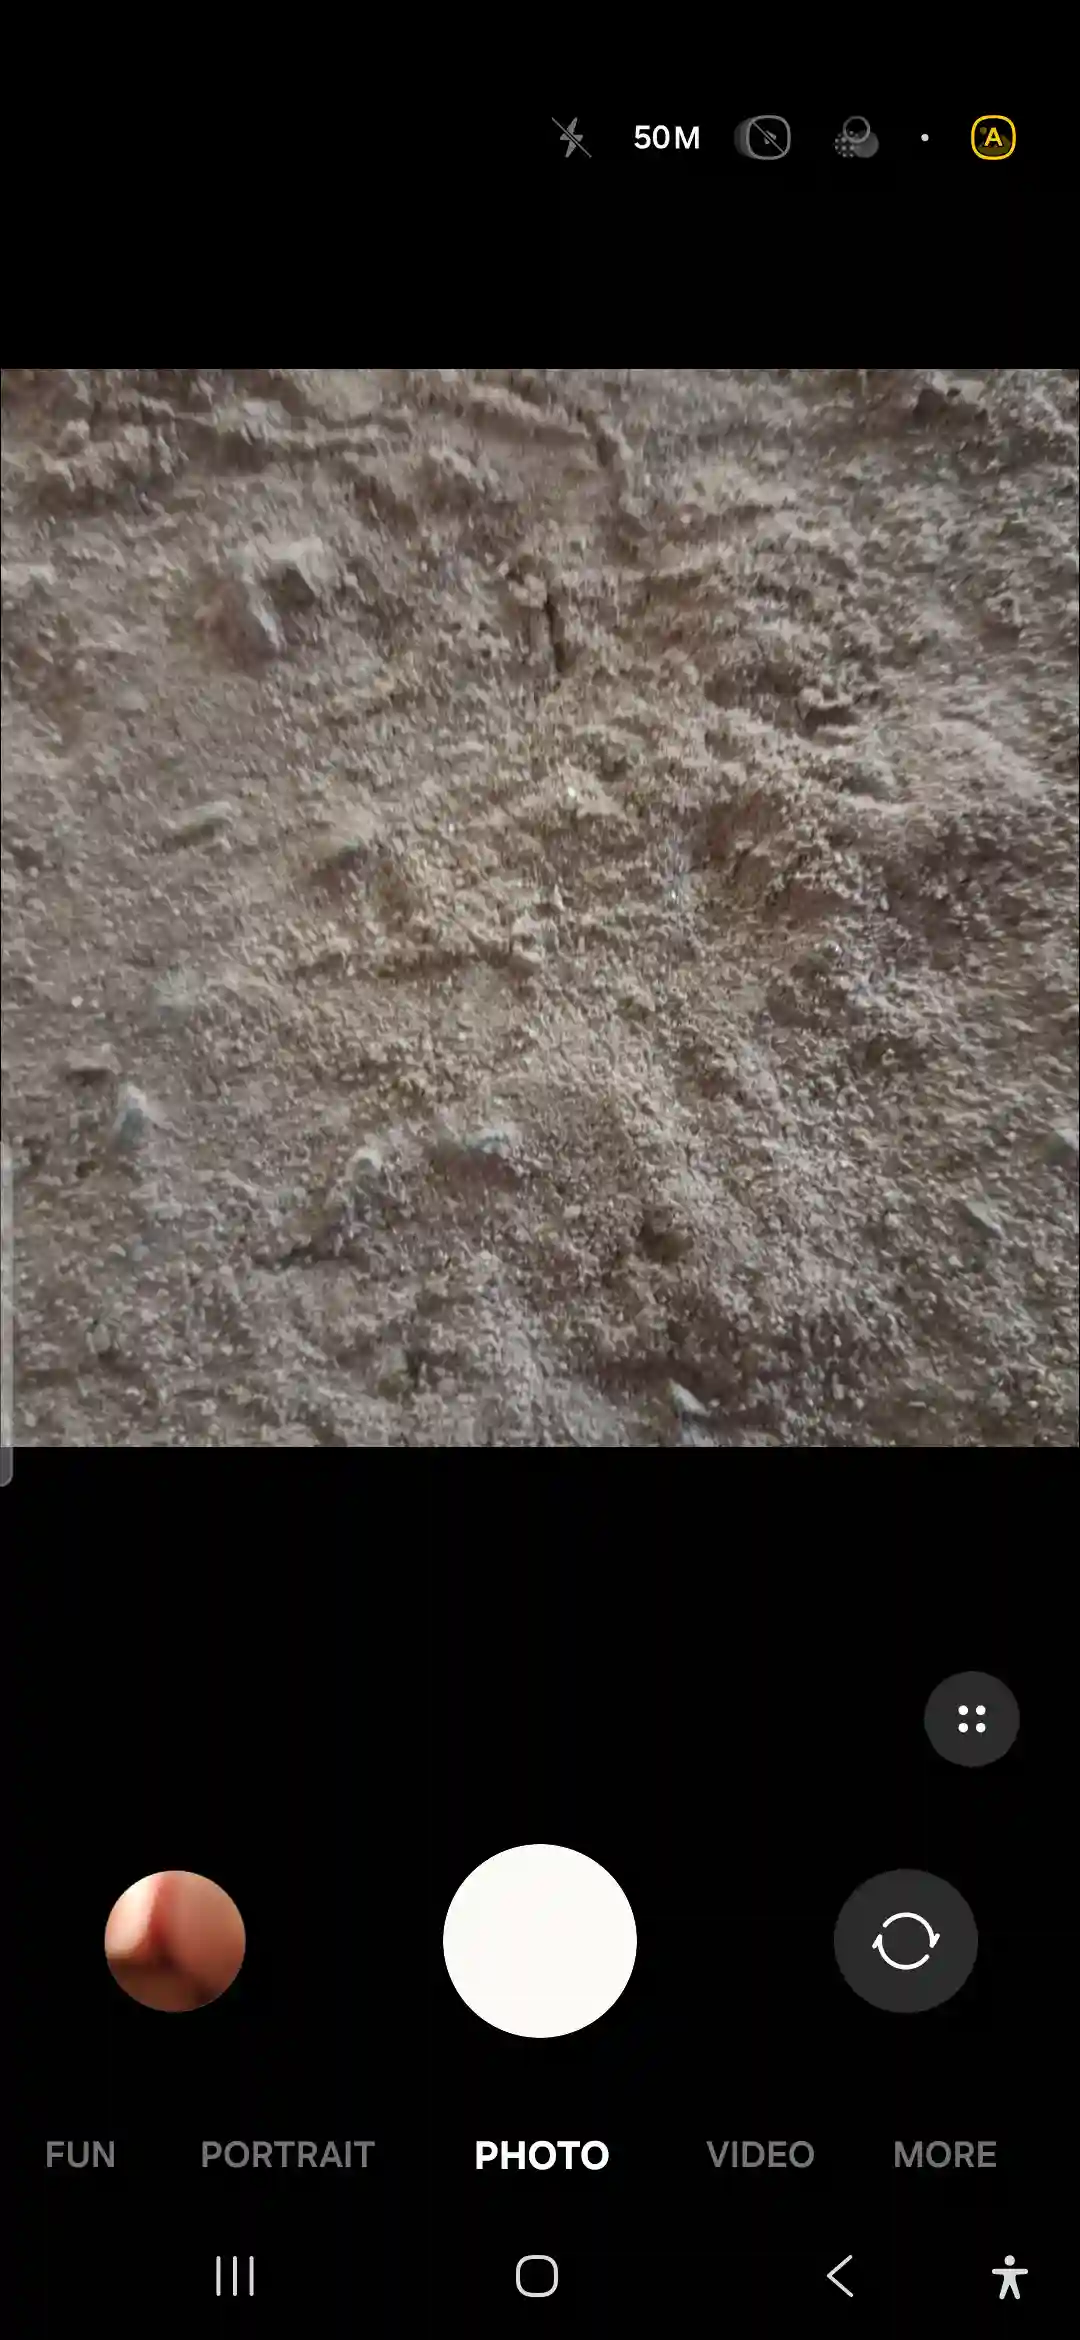
By default, the phone shoots at 12MP using pixel-binning instead of the full 50MP. For most casual shots this is fine and saves storage. But if you’re shooting something you might want to crop or print later — go into Settings → Picture size and switch to the full 50MP option.
Step 4: Disable “Shot suggestions” if it bothers you
This is a personal preference thing. The phone tries to suggest framing adjustments while you shoot. I found it distracting and turned it off under Settings → Useful features.
Step 5: Learn Pro Mode — seriously, just learn it
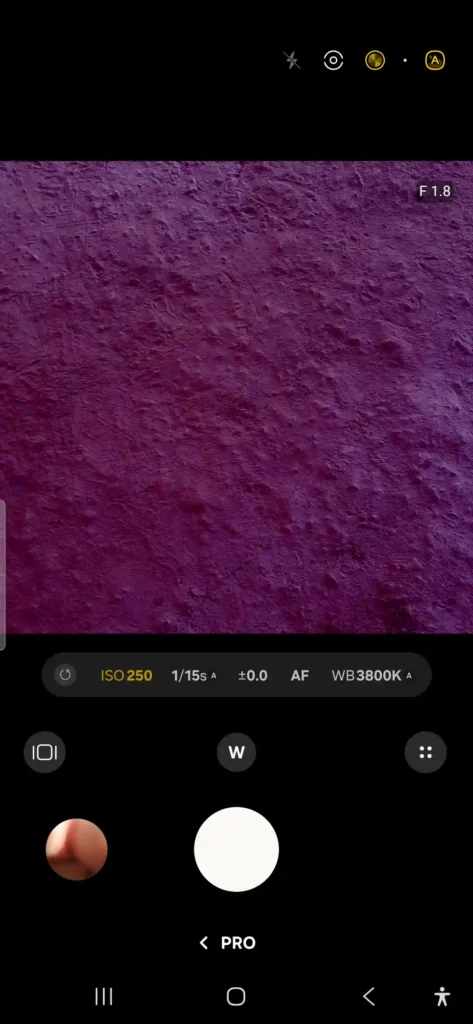
This is the single biggest upgrade to my photos. Swipe to “Pro” mode in the camera app. You get manual control over:
- ISO — keep it low (50-200) in daylight, bump it up (400-800) indoors
- Shutter speed — slower shutter (1/30 or less) for night shots on a stable surface, faster (1/250+) for movement like kids or pets
- White balance — manually set this indoors under warm lights to avoid that orange tint I mentioned earlier
- Focus — tap to set manual focus instead of letting auto-focus hunt around
It took me maybe three or four tries at a coffee shop to actually get comfortable adjusting these on the fly. Now it’s second nature.
Best Settings for Different Situations
Low light / night photography: Use Night Mode (it’s a separate mode in the shooting menu, not Pro mode). Hold the phone steady or rest it on something — even a stack of books works. The phone takes multiple exposures and blends them, so any shake ruins it.
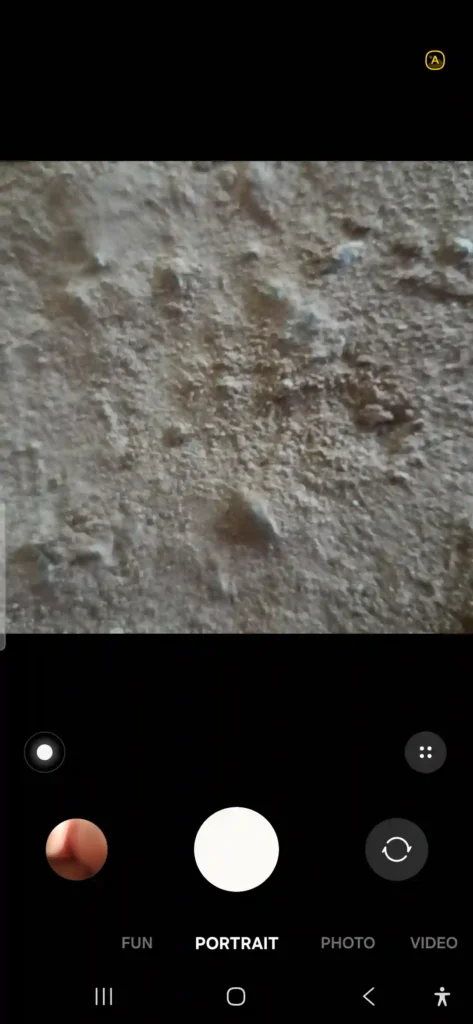
Portraits: Switch to Portrait mode and manually adjust the background blur slider before shooting, not after. I used to fix it in post but the live preview lets you actually see how the blur falls around hair and edges, which post-editing can’t always fix well.
Food photography: Turn off flash completely. Use natural window light if you can, angle your shot from slightly above, and let Scene Optimizer detect “food” (you’ll see a small icon pop up confirming it). Then nudge exposure down slightly (-0.3 to -0.7) so the highlights don’t blow out.
Action shots (pets, kids, sports): Use Pro mode, bump shutter speed up, and switch to burst shooting by holding the shutter button. You’ll get a handful of frames and can pick the sharp one later.
Landscapes/sunsets: HDR helps a ton here. Make sure it’s set to “Auto” not “Off” under camera settings. Also drop exposure slightly to avoid washing out the sky colors.
Common Mistakes to Avoid
I made basically all of these, so learn from my pain:
- Shooting indoors without adjusting white balance. This is what ruined my wedding photos. Indoor warm lighting tricks the camera into orange tones unless you manually correct it.
- Using flash for everything in low light. It almost always looks harsh and unnatural. Night Mode is far better 90% of the time.
- Not cleaning the lens. Sounds obvious, but pocket lint and fingerprints cause more blur than people realize. I didn’t clean mine for two weeks once and wondered why everything looked soft.
- Zooming in digitally instead of moving closer. The A56 doesn’t have a dedicated telephoto lens with optical zoom, so digital zoom past 2x gets grainy fast.
- Ignoring the grid lines. Turning on the grid (Settings → Grid lines) genuinely improved my composition more than any color setting ever did.
Real Examples From My Daily Use
I started using this phone for my small Etsy shop product photos. With default auto mode, my handmade candles looked dull and slightly yellow. After switching to Pro mode, manually setting white balance to daylight (around 5500K), and using a simple white poster board as a backdrop near a window, the photos honestly looked close to what I used to pay a friend with a DSLR to shoot.
Another example: hiking trip, overcast sky, lots of green forest. Auto mode made everything look slightly grayish. Switching HDR to “Auto” and bumping saturation slightly using the built-in editing tool after the shot brought the greens back to life without looking fake or over-processed.
Pros & Cons of the A56 Camera
Pros:
- Genuinely sharp daylight photos straight out of Pro mode
- OIS noticeably reduces blur in low light, even handheld
- RAW capture gives real editing flexibility
- Night Mode performs better than expected for this price range
- Manual controls aren’t buried — they’re accessible and intuitive once you find them
Cons:
- Default auto mode plays too safe with color and exposure
- No true optical zoom, so distant subjects lose quality fast
- Indoor warm lighting needs manual correction almost every time
- Video stabilization is decent but not flagship-level smooth during walking shots
FAQs
Does the Galaxy A56 shoot in RAW format?
Yes, through Pro mode you can enable RAW + JPEG capture, which is great if you plan to edit photos later.
Why do my indoor photos look orange or yellow?
This usually happens because auto white balance struggles with warm artificial lighting. Switch to Pro mode and manually adjust white balance for accurate colors.
Is Night Mode actually useful or just marketing?
It’s genuinely useful, but only if you keep the phone steady during the few seconds it takes multiple exposures. Shaky hands ruin the result.
Should I always shoot at full 50MP resolution?
Not necessary for everyday photos. Save it for shots you might crop heavily or print large, since the files take up significantly more storage.
Can I get DSLR-quality photos with this phone?
Not exactly DSLR-level, but with good lighting and manual settings, you can get surprisingly close for casual and even small business use.
What’s the best setting for taking pictures of food?
Turn off flash, use natural light, slightly lower exposure, and let Scene Optimizer detect food mode automatically.
Why does zooming in make photos blurry?
The A56 relies on digital zoom rather than a dedicated telephoto lens, so quality drops noticeably past 2x zoom.
Does cleaning the lens really make a difference?
Surprisingly, yes. A smudge or dust speck causes more noticeable blur and haze than most people expect, especially in bright light.
Final Thoughts
Honestly, the Galaxy A56 camera surprised me more than I expected for its price point. It’s not trying to compete with flagship phones costing twice as much, but once you stop relying purely on auto mode and start using Pro mode, adjusting white balance, and paying attention to lighting, the results genuinely hold up.
I still cringe a little thinking about those orange-tinted wedding photos. But honestly, that frustrating night of fiddling with settings taught me more about photography basics than years of just pointing and shooting ever did. If you’ve got this phone sitting in your pocket right now, give Pro mode an honest shot before writing the camera off as “just okay.” You might be surprised.