
First Things to Do on Samsung Galaxy A56: Complete First-Day Checklist & Setup Guide 2026
I still remember tearing open the box for my new phone on a Tuesday afternoon, coffee in one hand, device in the other, completely ignoring the fact that I had a work call in twenty minutes. That’s the thing about a new phone—it hijacks your schedule whether you plan for it or not.
If you are wondering what to do after buying a Samsung Galaxy A56, you aren’t alone. Rushing through the setup always comes back to bite you. I once skipped the warranty check on a phone for my cousin, only to discover two weeks later it was a “refurbished as new” unit sold as brand new. That headache took a month to sort out.
So, this isn’t a generic “how to turn on your phone” guide. Whether you are looking for a complete Samsung Galaxy A56 setup guide or just want to avoid common pitfalls, this is exactly how I set up my device. From hardware checks to software tweaks, here are the absolute first things to do on Samsung Galaxy A56 before it becomes your daily driver.
Quick Specs Overview
Before we dive into our new Samsung Galaxy A56 checklist, let’s quickly recap what you are working with. Keep in mind Samsung occasionally tweaks regional variants, so double-check your specific box.
| Spec | Details |
|---|---|
| Display | 6.7″ Super AMOLED, 120Hz refresh rate |
| Processor | Exynos 1580 |
| RAM/Storage | 8GB/128GB, 8GB/256GB, 12GB/256GB |
| Rear Cameras | 50MP main, 12MP ultrawide, 5MP macro |
| Front Camera | 12MP |
| Battery | 5,000mAh with 45W wired charging |
| OS | Android 15 with One UI 7 |
| Build | IP67 water and dust resistance, Aluminum frame |
| Support | 6 years of OS and security updates |
Before You Even Open the Box
I know you want to rip into it immediately. But doing these two things takes thirty seconds and saves you real trouble later.
First, snap a photo of the box’s IMEI sticker on the outside. Phones occasionally get swapped at the retail or delivery level. Having proof of the original IMEI protects you if something feels off.
Second, check the plastic seal. Genuine Samsung retail boxes have a specific tamper seal. If it looks like it’s been glued back down or is missing entirely, pause and take pictures.
Unboxing Checks You Shouldn’t Skip
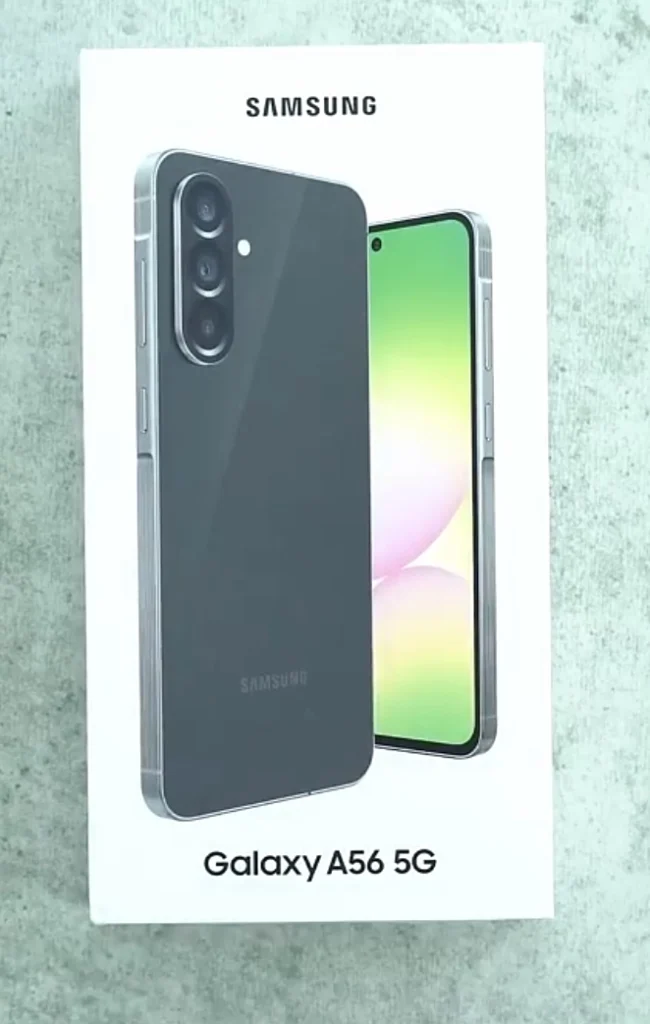
Once you are opening the box, go slow. As part of your Samsung Galaxy A56 first time setup, follow this physical inspection routine:
- Inventory check: You’ll find the phone, a USB-C cable, a SIM ejector tool, and paperwork. Samsung hasn’t included a charging brick for generations, so don’t panic if it’s missing.
- Look at the screen: The A56 ships with a pre-applied plastic protector (in some regions) and Gorilla Glass Victus+. Check for bubbles or edge peeling.
- Inspect the body: Tilt the phone around near a window. Look for scratches, dents, or gaps where the aluminum frame meets the glass. If you plan on keeping it pristine, this is the perfect time to snap on a high-quality Samsung Galaxy A56 back cover.
- Check ports and trays: Look inside the USB-C port for debris. Pop the SIM tray out—it shouldn’t feel loose. If you plan on going digital, now is also the time to read up on Samsung Galaxy A56 eSIM support before moving your physical SIM.
- Note the serial number and IMEI: Match the box numbers to what you see in the phone’s settings later.
Hardware Testing: The 20-Minute Sanity Check
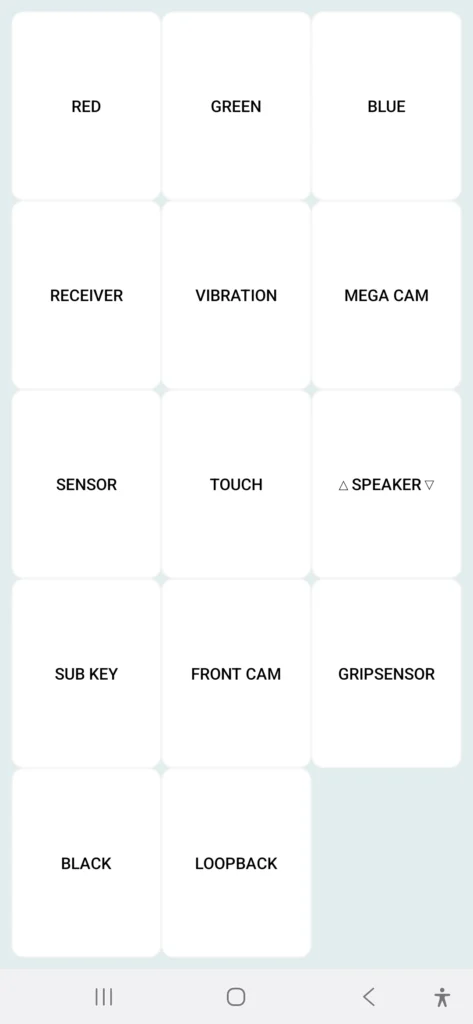
This is the step almost everyone skips in their how to set up Samsung Galaxy A56 routine, but it is the most critical. Most retailers give you a 7–15 day return window. Waiting three weeks to notice a faulty camera means you’re stuck dealing with warranty repairs instead of a quick retail swap.
- Display test: Open a solid white image to look for dead pixels. Do the same with black to check for backlight bleed.
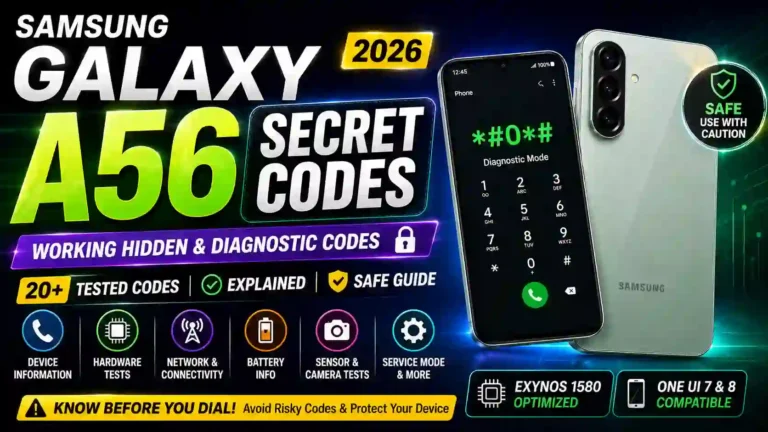
- Touch responsiveness: Dial
*#0*#in the phone app. This hidden diagnostic menu lets you check the touch grid, colors, and sensors. - Cameras: Take a photo with each lens. Record a video to test stabilization. If you aren’t thrilled with the initial shots, tweaking your Samsung Galaxy A56 camera settings can make a massive difference right out of the gate.
- Buttons & Vibration: Press the volume and power buttons repeatedly to ensure they don’t feel mushy. Toggle vibrate to ensure a smooth buzz.
Verifying Your Warranty (Don’t Skip This)
This is a mandatory step for any Samsung Galaxy A56 getting started guide.
- Go to Samsung’s official warranty check page (make sure you use your specific country’s portal).
- Enter your phone’s IMEI or serial number.
- Confirm the manufacture date and warranty start date match your purchase timeline.
- Register the device with your Samsung account through the Members app. This speeds up future service center visits.
Transferring Your Data the Smart Way
I’ve moved data using pretty much every method, and Samsung’s Smart Switch is consistently the best.
- Wireless Transfer: Follow the on-screen prompts during setup. Keep both phones plugged in and on a stable network to avoid random Galaxy A56 Wi-Fi problems during the transfer.
- Wired Transfer: Using a USB-C to USB-C cable is significantly faster, especially if moving 100GB+ of media.
- From iPhone: Smart Switch handles iPhone-to-Galaxy transfers brilliantly, bringing over contacts, photos, and calendar entries natively (see Samsung’s official Smart Switch guide for details).
Pro Tip: Delete junk photos and old memes on your old phone before transferring. Don’t carry digital clutter onto a brand-new device.
Essential Apps and Settings to Configure Early
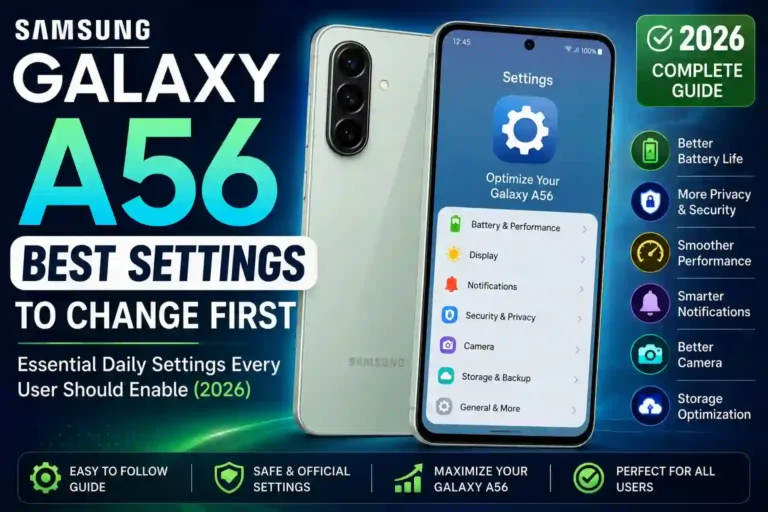
To get the most out of One UI 7, you need to dive into the settings. Finding the best One UI settings for your Samsung A56 is what transforms it from a good phone into a great one.
- Install Password Managers & 2FA: Set up Bitwarden, Google Password Manager, and Authy first so logging into your other apps is seamless.
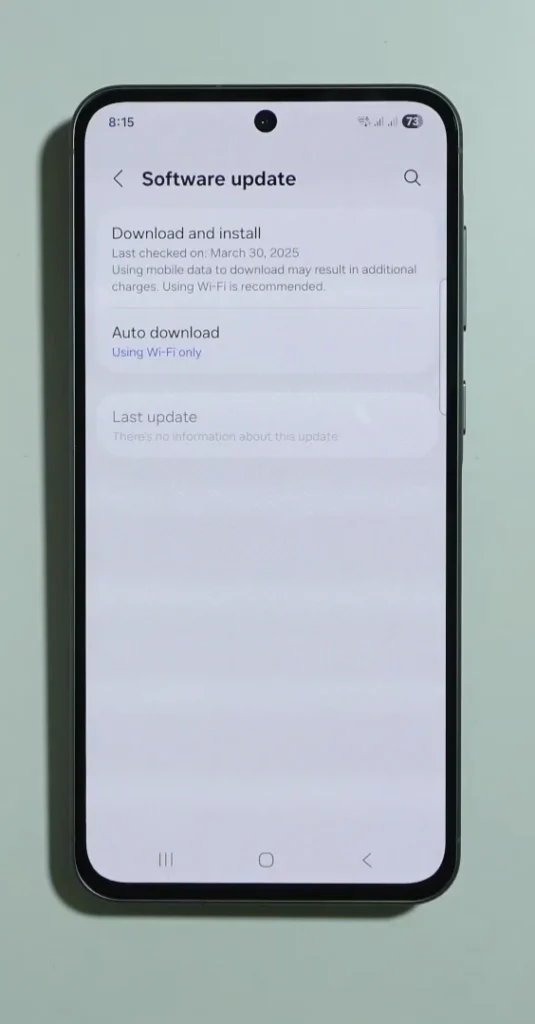
- Update the Software: Phones sit in warehouses for months. Go to Settings > Software Update immediately. A day-one patch often resolves early Galaxy A56 battery drain issues.
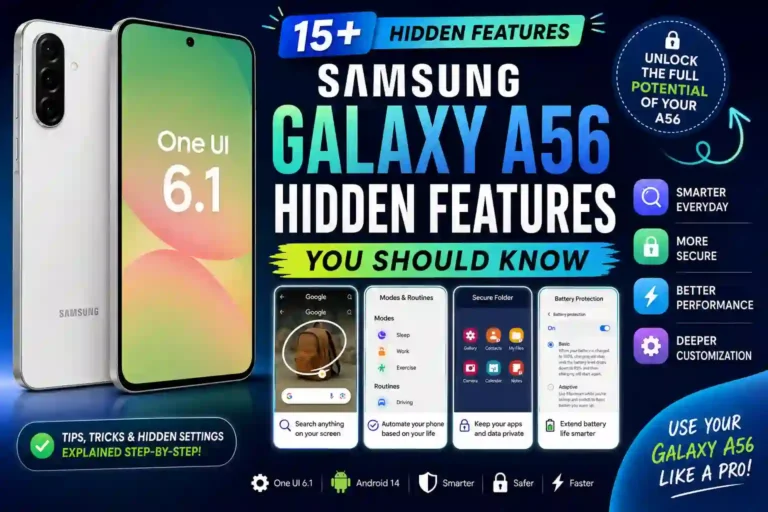
- Explore Advanced Features: One UI is packed with utilities. Take ten minutes to explore the Samsung Galaxy A56 hidden features to customize gestures and multitasking to your liking.
My Full First-Day Checklist
If you just want the quick Samsung Galaxy A56 setup checklist, here is the summary of essential tasks:
- Photograph the box and check the tamper seal.
- Verify the IMEI matches between the box and device settings.
- Run the hidden diagnostic test (
*#0*#). - Charge to at least 50% before heavy use. (Check out our guide on how to improve Samsung Galaxy A56 battery life for long-term charging habits).
- Verify warranty status and register in the Samsung Members app.
- Transfer data using Smart Switch.
- Update the operating system immediately.
- Set up a screen lock, Find My Mobile, and toggle “Auto Blocker” in security settings.
Common Mistakes People Make
As a Samsung Galaxy A56 new user guide, it wouldn’t be complete without telling you what not to do:
- Restoring blindly: Bringing over old app clutter or corrupted backups can cause system lag. Sometimes, starting completely fresh is better.
- Ignoring the battery learning phase: The A56’s battery takes a few days to learn your usage patterns. Don’t panic if it drains quickly on day one; it will stabilize.
- Skipping the screen protector: If you use a screen protector, apply it before you get used to the bare glass. It is psychologically much easier on day one!
Pros & Cons of the Galaxy A56
Pros:
- Gorgeous 120Hz Super AMOLED display.
- Massive 6-year software support commitment.
- IP67 rating (rare at this price point).
- Excellent customization through Samsung Galaxy A56 tips and tricks.
Cons:
- No charging brick included in the box.
- The 5MP macro camera is a bit of a gimmick.
- Exynos 1580 is great for daily tasks but slightly trails Snapdragons in heavy, sustained 3D gaming.
FAQs
How do I check if my A56 is genuine and not refurbished?
Check the IMEI on Samsung’s official warranty page. It will show the manufacture and warranty start date, which should be recent.
What is the diagnostic code for testing hardware on the A56?
Dial *#0*# in the phone dialer app.
Is the IP67 rating enough for swimming?
No. IP67 protects against accidental splashes, rain, and brief submersion in shallow water, but it is not meant for sustained swimming.
My phone is acting buggy after setup. What should I do?
If a software update doesn’t fix it, a corrupted data transfer might be to blame. You may need to learn how to do a proper Samsung Galaxy A56 reset and set it up fresh.
Taking an hour out of your day to follow these essential tasks after buying a Samsung Galaxy A56 protects you from weeks of frustration. I’ve been burned by skipping the “boring” steps before. Take the extra time now—your future self will thank you.

One Comment